Beginner palm tree painting using watercolour and gouache

This is a simple palm tree painting at sunset that any beginner can try.This time, I am using both watercolour and gouache to create this simple piece of painting. Basically, I am using Daniel Smith Cerulean Blue to create a light blue sky using the wet on wet technique. I use this technique often especially painting a whole stretch of pain across the sketchbook. At the middle of the page, I am using mission gold orange and blend in with the blue sky. I am using more water for this sky painting to ensure the colour blend it well. In order to paint effectively using both watercolour and gouache, I have to plan in advance to select which subject to be watercolour and which one to use gouache. Bear in mind that watercolour mostly are transparent pigment and gouache are more opaque.

If I am going to paint the sky using gouache and the palm tree with water colour,It may not turn out well as the palm tree will not be able to stand out and will see through with the transparent pigment.

I added a tint of Peak cock Blue โ€“ Prussian Blue to create wave on the sea. I am using black gouache on the foreground of the painting which is the same colour as the palm tree.

For the leaves , I am carefully using โ€œ0โ€ size brush to create the thin stroke of the leaves.

This will normally take more times as I need to create every single line and since I am using 100% cotton sketch book, the paper absorb the water really fast. I have to constantly wet my brush to avoid the dry brush stroke. For this painting ,I try not to overthink about how every strokes to be perfect, just paint with my feel and it was fun for the whole process.

If you want to see my whole painting process, you may click the youtube channel which was released last night. If you like my painting process and new to my channel, you may consider subscribe to my channel . Please hit the bell notification for my any upcoming new art videos. Your support is very much appreciated.

https://youtu.be/rUTAqXzxRqc

Posted in Gouache | Tagged , , , , , | Leave a comment

Gouache Painting – Using Miya Himi Jelly Gouache paint

Recently I have bought the Miya Himi Jelly Gouache paint which have created such a wave around the world. This is the 2nd time I am using this. The first try was during my last video about how I draw created scene using character.

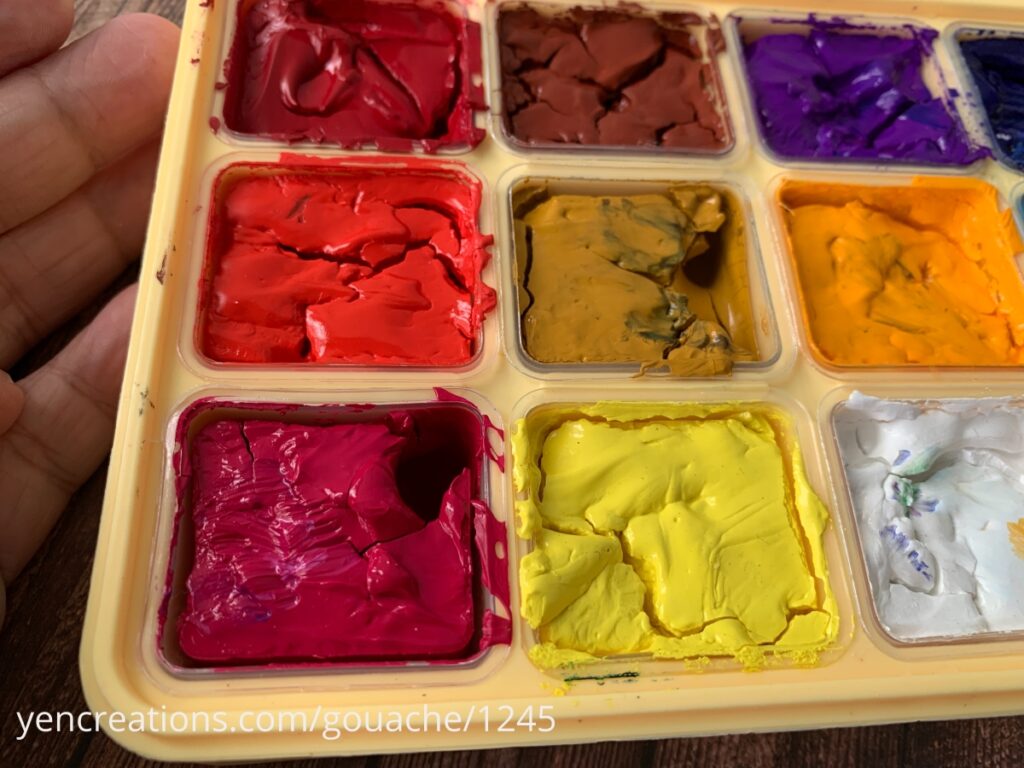
But the paint drys up so easily that it has obvious cracks on them( sorry for the disgusting photos below ). Each of the Jelly cube is 30ml which I feel is really alot. I bought on Lazada during sales time which cost around USD 13 and I paid for a very small shipping fee which is really a good deal. And the item reached me slightly a week which is pretty fast.

Though the paints are mostly cracked after my 2nd usage, but they seem to be easily rewet by using a spray of clean water. And instantly they are back to their initial form of jelly texture.

The colour seems very vibrant and there are total 18 colours and there are 2 white colors provided. One of them say is metallic white, but I don’t see much different. I may need to get a spatula to pick up the paint so that it won’t get contaminated by dipping into other paint using a brush. Below shows that after the colour is reactivated , it resumed back to its bouncy form again.

I nearly forgot to mention hoabout the extra well which was provided inside the box and it has a little hole so that you can just use your finger to remove the well easily. This is how thoughtful the design is. But the box is very heavy which I don’t think I will want to bring this box outdoor for painting. I will do a thorough reviews on the colours again in the near future.Stay tuned.

I tried this on another new painting idea that is mountain painting and this was really very satisfying after completed the piece. Actually most of the time, I prefer to use pencil and pen before painting . But since Gouache is opaque pigmented, I will just just pencils to create the initial draft and then followed by gouache. I try to be neat in this painting though.

I love how the colours turned out and they are really vibrant. I enjoyed mixing and testing out the colours and the final result. You may watch this latest video on my youtube channel with the link below.

Posted in Gouache | Tagged , , , | Leave a comment

Sketching Cavenagh Bridge during Staycation – The Fullerton Hotel Singapore

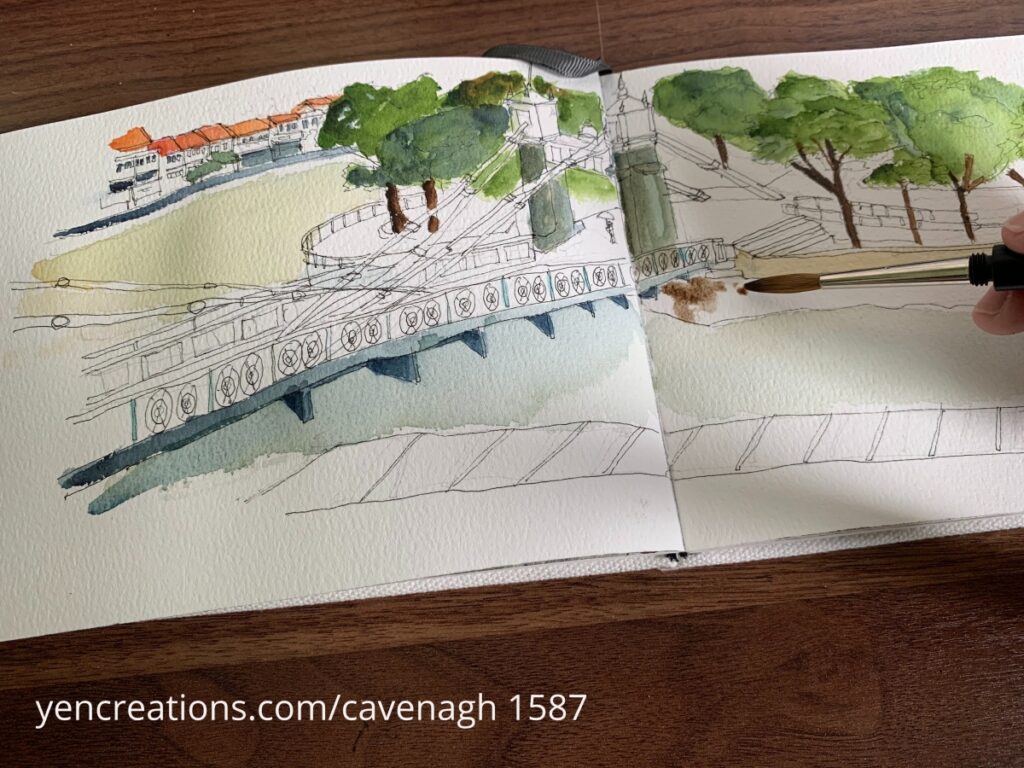
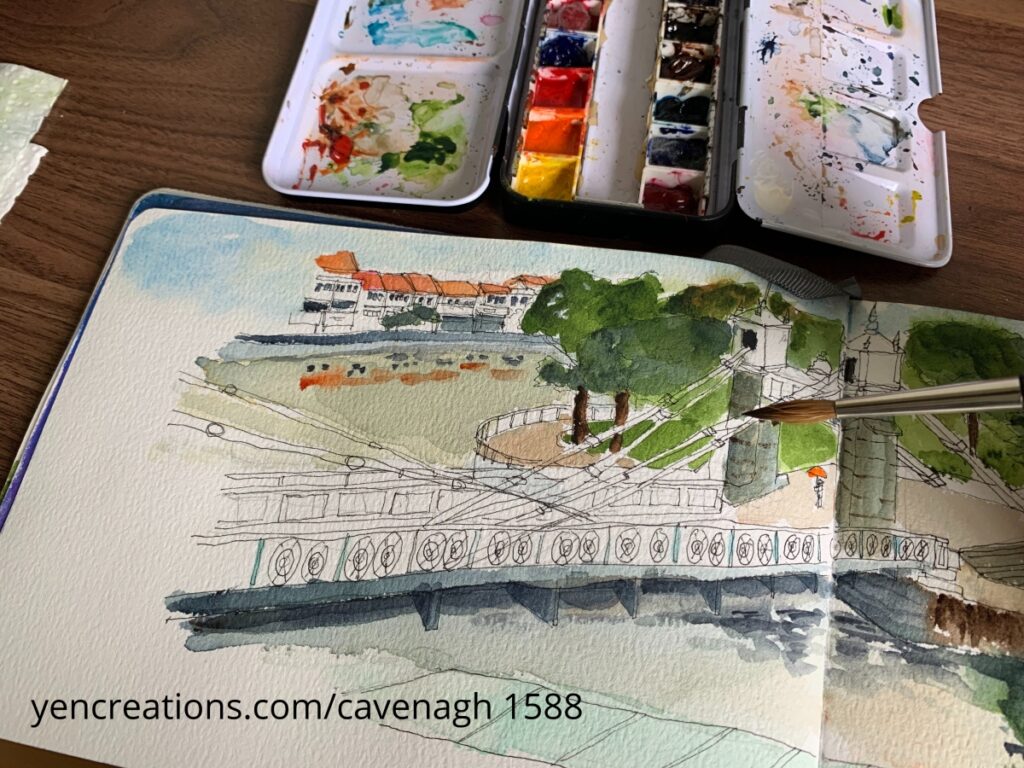
During my break from 21 Nov – 23 Nov, I decided I will bring my drawing equipment with me as I want to draw from real scenary and I thought it will be fun with this exercise. As the stay was short, I only managed to sketch and paint which is the Cavenagh Bridge across The Fullerton Singapore.

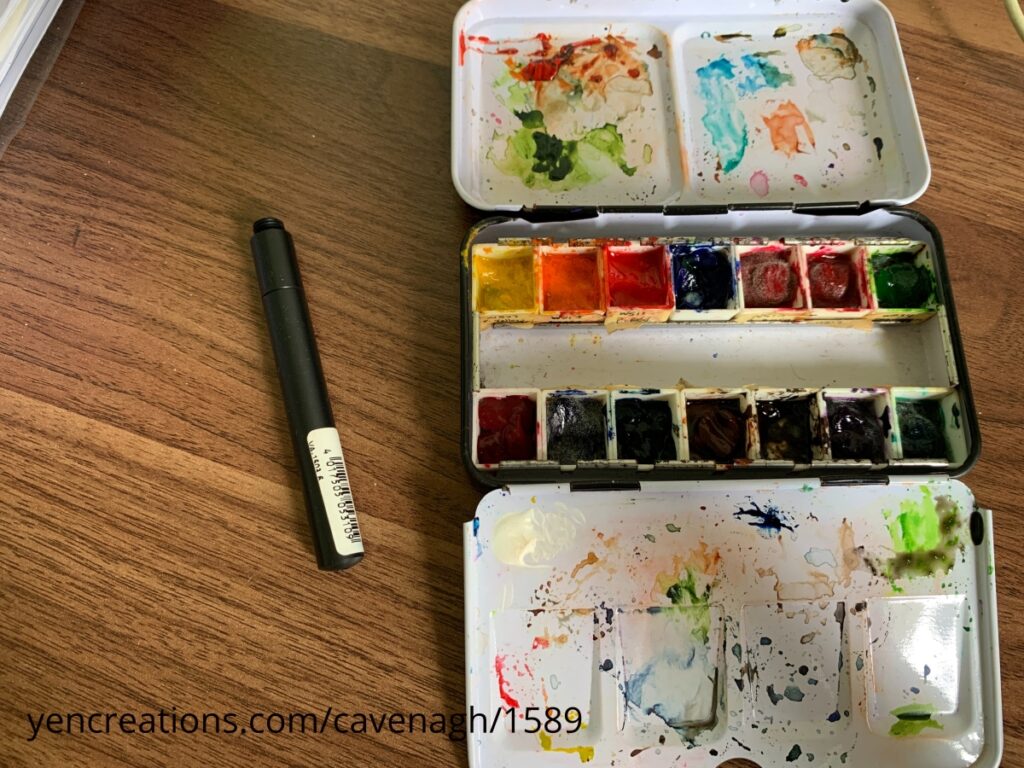
I am keeping things extremely simple with only few essential equipment, mainly the Etchr Lab 100% cotton A5 size sketchbook , a pen, Da Vinci Maestro collapsible Num 6 ‘brush and a portable metal palette – mission gold paints only.

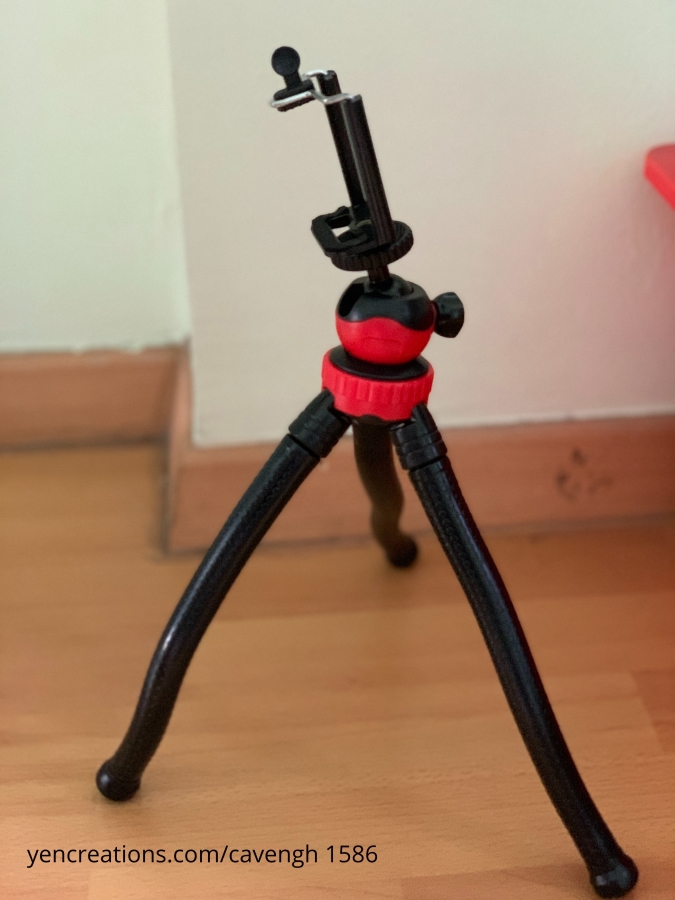
Not forgetting another item which is the handheld mobile tripod. This is the “octopus” type tripod which their legs are flexible to bend. I find it quite useful as I can treat it as a self stick which I can carry it outdoor for photoshoot.

Currently , I do not own any camera and all youtube videos which I had created are all taken on my Iphone XS Max. It still served me well till to date.

You may view the youtube video below and if you love my sketching /painting videos, you can subscribe to my channel and don’t forget to hit the bell for future notification of new videos. Thank you

Posted in Watercolour | Tagged , , | Leave a comment

How to draw created scene from picture book

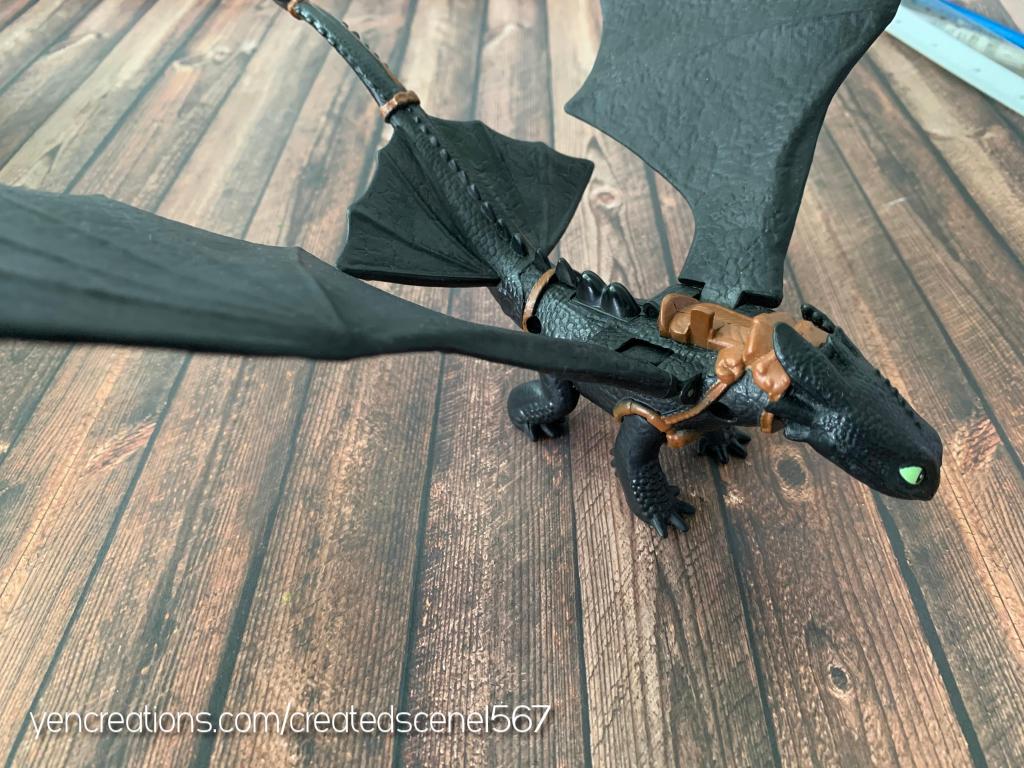
Today I am drawing something interesting , that is to draw created scene from picture book.I will be using the main character, toothless ( how to train your dragon ). And I will choose a background scene from the story book ” The way home for wolf”.

I am using this drawing method as eventually, I will be having the drawing uniquely mine without copy directly from any references. You can try this method if you want to get some inspiration and drawing ideas.

I love this picture book as there are many beautiful illustration inside . The story line are really very encouraging for children.

I decided to choose this beautiful twilight scene below and then I placed my character toothless onto the direction facing over looking the forest . I have improvised it with a moon instead of the northern light.

I have done this drawing and painting demo video using watercolor and gouache as below and hope it can inspire you to create any art of your own.

Posted in Sketches, Watercolour | Tagged , , , , , | 5 Comments

Draw and Paint New Floating Apple Store- Marina Bay Sands

Today I am doing a simple sketch and painting on the new floating apple store which is newly opened in Sep 2020 at Marina Bay Sands. For this sketch I am using photo reference on internet as I have not visited the place yet. I am using the etchr lab 100% cotton paper for this sketch. But I will be visiting the place around end Nov 2020 ๐Ÿ™‚

The watercolour I am using is mostly Daniel Smith and Mission Gold .

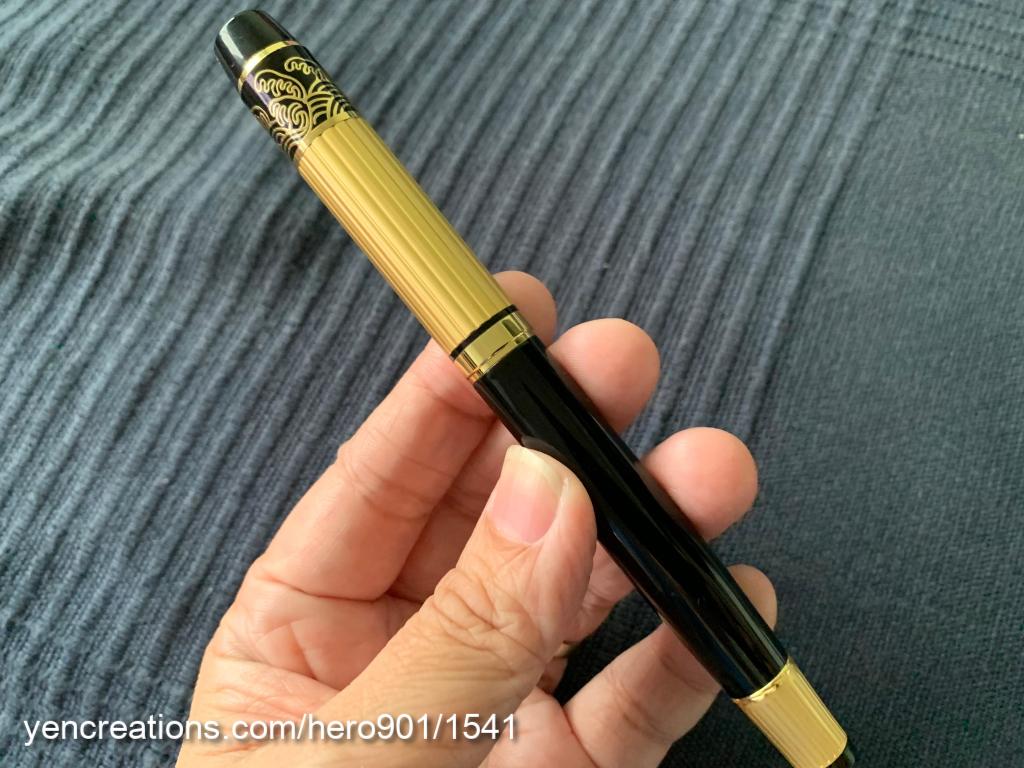
At the same time I am trying out the Hero fountain pen 901 which I bought from Aliexpress. The ink I am using today is the Atrimentis Document Black Ink. Ink flows really well. It is much better than the Duke 209 fountain pen which I try before in terms of ink flow and smoothness of lines created.

I can’t remember how much is the actual price but I think it is very affordable like around USD 4. The pen has a solid body finish and it weighs quite heavy. On the website the dimension and weight is as below. So it it definitely not a light weight pen.

Length: 142 mm Weight: 50 g

The nib is gold plated and it is a fude nib which can create thick and thin lines.

Same as the Duke 209 fountain pen, the ink converter using the twist piston type.You can watch the time lapse sketch and paint video here.

Posted in Watercolour | Tagged , , , | Leave a comment

Creating a witch character step by step – Without copying DIRECTLY from artist

Today I am going to show you a simple way of how I created a witch character step by step WITHOUT copying directly from your favourite artists. You can simply apply this method to create any character that you like.

Of course you still need to have at least a concept that you want how your witch looks like. Go to youtube or pinterest to search for some ideas.

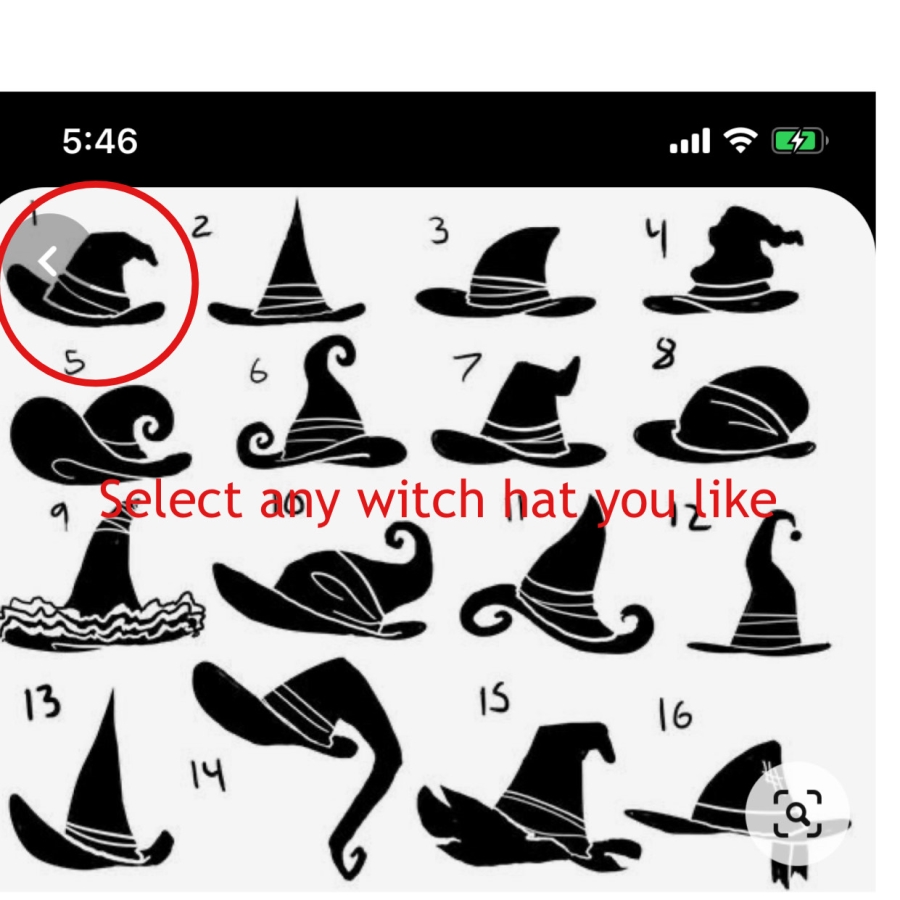
First I go to pinterest to find some stocks photo of witch hat. I choose the top left hat.

I started to look for the type of clothings that how I want my witch outfit to look like. In this case, I want the witch to have a black decent dress of what the below model is wearing.Of course you can modified and change the dress if you want.

I am not good in drawing faces ,so in this case , I want to use the witch hat to cover at least the face portion from nose up onwards and the angle that I wanted my witch to face. Kind of playing cheat ๐Ÿ˜‰

Next, I wanted my witch character to have short hair๐Ÿ˜„. So , I decided the haiystyle as below. If you are not good in drawing, Try to find models posture which are in the ideal position as what your drawing will be like. It will be easier for you to mimick the drawing.

So now, you will roughly has an ideal how your witch will look like. In the next step, I will need to decide the elements, the hand posture that I want the character to be. I started to have a rough draw using pencil.

I found some interesting elements of how I can add in my drawing to create some depth. This is roughly how my witch looks like.

Hand posture is one of the most difficult elements to mimick with . It took me awhile to find some hands position that will be quite close to what my drawing will be.

Dadaaaa … finally my finished drawing ๐Ÿ˜€ I hope the tips are useful to you๐Ÿ˜„

The drawing process video are already available on my channel.

Posted in Sketches | Tagged , , , | Leave a comment

Refillable Brush Pen

Today I am going to give you a brief review about this refillable brush pen which I bought at a local Art Store in Singapore just last month. You can find the website here at https://www.straitsartco.com.sg/

This pen really looks interesting as it is refillable and it physically really resemble how a fountain pen looks like except the nib is now bristles. The plastic material are just alright only. With costing around USD 5, I feel it is quite worth it and it has no brand .

The Bristle is made of synthetic nylon which are the same as those watercolour brush pen.There are fine and medium tip bristle and the one I bought is medium tip.

This brush pen is using the twistable piston cartridge . It has the same length as the portable pentel brush pen.

The detachable cartridge as attached photo

After trying out painting a sketch, I feel somehow the ring that hold bristle can move easily which I feel it is not that stable. But it did not affect the finished arts.

I am using the Atramentis Document Black Ink for the demo. And the link flows really well. I have no issues on having dry brush strokes even if this is a 100% cotton content sketch book.

I have also created a new youtube video demonstrating this brush pen with the sketch.

Posted in Drawing Tools | Leave a comment

Matthew Palmer Book – Step by Step Guide to Watercolour Painting

Recently , I have borrowed a few art books from our public library which I feel is beneficial to those who loves to use watercolour paint especially for beginner. This book is definitely a must for beginners who don’t have any experiences in watercolour painting or who want to try out as a new medium.

Matthew Palmer is a self taught artist specialised in painting landscapes .Over the past 25 years, he had taught individuals and conducted watercolour workshops in UK.

It introduces background about Matthew Palmer and the reason of making this book.

He also introduces all material and equipment required for watercolour with pages of in depth explanation of each material used. Though you may not need to absorb every single information but some are really good as own knowledge.

All photos are high resolution and can see that a lot of efforts are been put into making of this step by step instructional book. I feel this book can also be beneficial for those emerging artists who like to correct their ways of applying watercolour .

The book also introduces about finding better composition for your subject of painting.

Matthew also shows the effect of using pencil and ink sketching followed by watercolour painting.

Colour concepts are really important in watercolour painting and lots of good examples for understanding.

There are 5 projects for you to try out with followed along instructions. The instructions are very clear with tips provided . This is just like the author is holding your hands to try them out, teaching every single step.

As this is solely watercolour painting, it is not necessary for you to learn sketching from scratch. Just trace out the sketch and follow along with the watercolour process.

Overall I enjoy looking at this book and for those beginner, it may take you awhile to grasp the correct techniques of watercolour.So just keep trying.

Pricing are as follows during my time of posting this

Book despository – USD 18.03 ( Free shipping worldwide)

Currently not selling on Amazon US, but this item can be found on Amazon SG which sold as same price as from book depository.

Posted in Other Artists | Leave a comment

Affiliate Program for Jackson’s Art

I am elated to inform that I have already accepted as part of affiliate program of Jackson’s art store. I have purchased twice from Jackson’s art online store and every purchase experiences were valuable . I have also purchase some products with minor issues which their customer service representative took it up swiftly and that is what I love their professionalism in handling matters.

This also means that every time a customer clicks through one of my links ( on the right sidebar )and then orders with Jackson’s art, I will receive a small commission at no additional cost to you. At the same If a new Jacksonโ€™s customer clicks through my affiliate link, you’ll receive 10% off your first ever order.

For this small amount of commission, it allows me to continue making more youtube videos with the art supplies that I share with my audiences and bringing more values to you.

Posted in Other Resources | Leave a comment

How I Sketch and Watercolor African Elephant

This is one of the fun and challenging painting session about this majestic elephant.

I found the original photo reference from pinterest. I loved the original photo as it tells alot of story behind this hurt African elephant. One broken tusk and another one was lost. True enough, a photo can tells a million words and this is how effective and the impact it brings to the audience.

I am using etchr lab 100% cotton sketchbook for this project.

First , I an using a 2H pencil to draft the outline of the elephant. As the paper was quite rough and I have to lay more deeper marks in order for lines to appear more visible.The size and composition is important as I don’t want my sketch to be too small or too big.

I was having some difficulty on making the details on the trunk and eye areas. I have to repeatlly lay deeper lines otherwise it will not show much contrast.

The first layer I had applied a light tint of yellow ochre as base color. This was due to there is light shining to the left side of both elephants. After the 1st layer, I started for subsequent layers to create dark shadows on the right side of the elephant. As I worked around with the colors, I have to overcome some unsightly dry brush strokes . Indeed, 100% cotton paper always turn out to be exceptional dry. I had to constantly wet my brush in order to achieve a smoother effect.

Overall, I loved the painting but I still need to work more on the details to have the realistic look

Posted in Sketches, Watercolour | Tagged , , , | 1 Comment